Best soil for CSEB (compressed stabilised earth blocks): tests, mix and cement
Which soils make good compressed stabilised earth blocks, seven hand tests and a jar test you can do on site, how to correct a soil, and how much cement or lime to use.
Possible Machines Private Limited ·
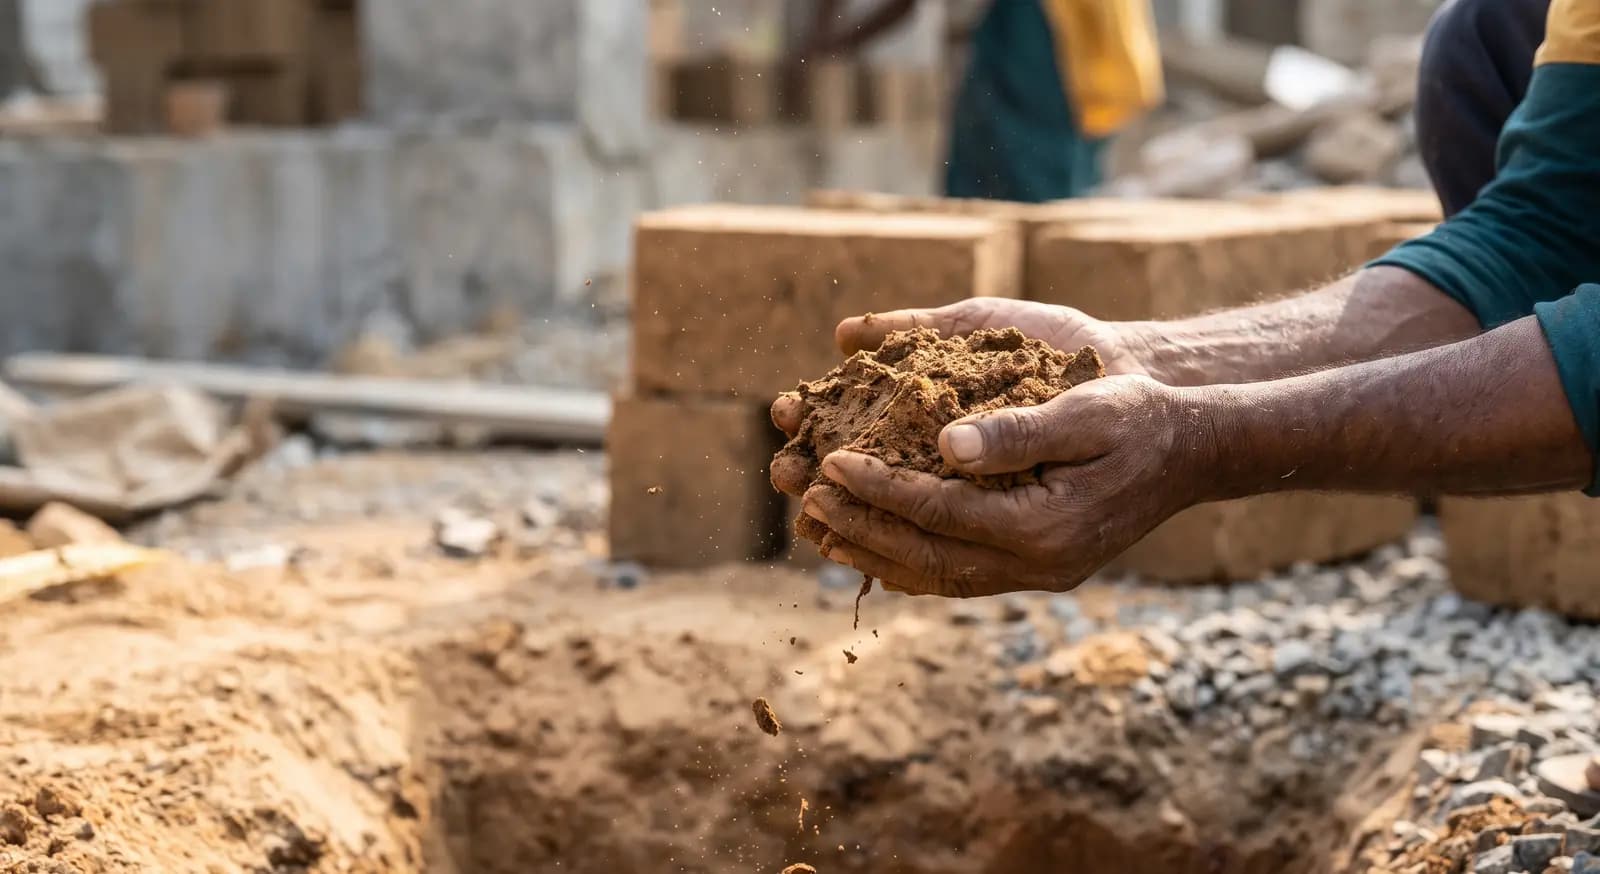
Good CSEB soil comes from below the topsoil. Illustration.
A CSEB is mostly soil. Around nine tenths of every block is the earth from your site or a nearby pit, so the soil decides the strength, the finish and how much stabiliser you pay for. The good news is that you can judge most soils in an afternoon with your hands, a knife and a glass jar, long before you order a machine.
Test the soil before you choose a machine: a jar test shows how much sand, silt and clay it holds.
4
grain sizes to know
7
tests you can do by hand
~10%
cement on our typical recipes
28 days
of curing for cement blocks
Know the four grain sizes
Every soil is a blend of gravel, sand, silt and clay. Sand and fine gravel are the skeleton that carries the load. Clay is the glue that holds the grains together when the block is pressed. Silt sits in between and adds little of either, so a very silty soil needs help.
Tell us what you want to make
Share the block type and daily output you need. We'll come back with the right machine and a price.
Every soil is a mix of these four. Stones above 20 mm are screened out before pressing.
What a good CSEB soil looks like
The best soils have enough sand for strength and enough clay to bind, but not so much clay that the block shrinks and cracks. Which stabiliser you use shifts the target: cement works best in a sandier soil, lime in a more clayey one.
Best soil for cement
More sand than clay
15%
50%
15%
20%
Best soil for lime
More clay than sand
15%
30%
20%
35%
GravelSandSiltClay
Target proportions by weight. Real soils vary widely; these are what you correct towards.
Never use topsoil. The dark, crumbly top layer full of roots and organic matter rots inside a block and weakens it. Strip it, set it aside for landscaping, and dig the subsoil below.
Seven tests you can do by hand
You do not need a laboratory to sort a soil. Take samples from a few spots and depths across the pit, dig below the topsoil, and run these tests on each. Together they tell you which fraction dominates.
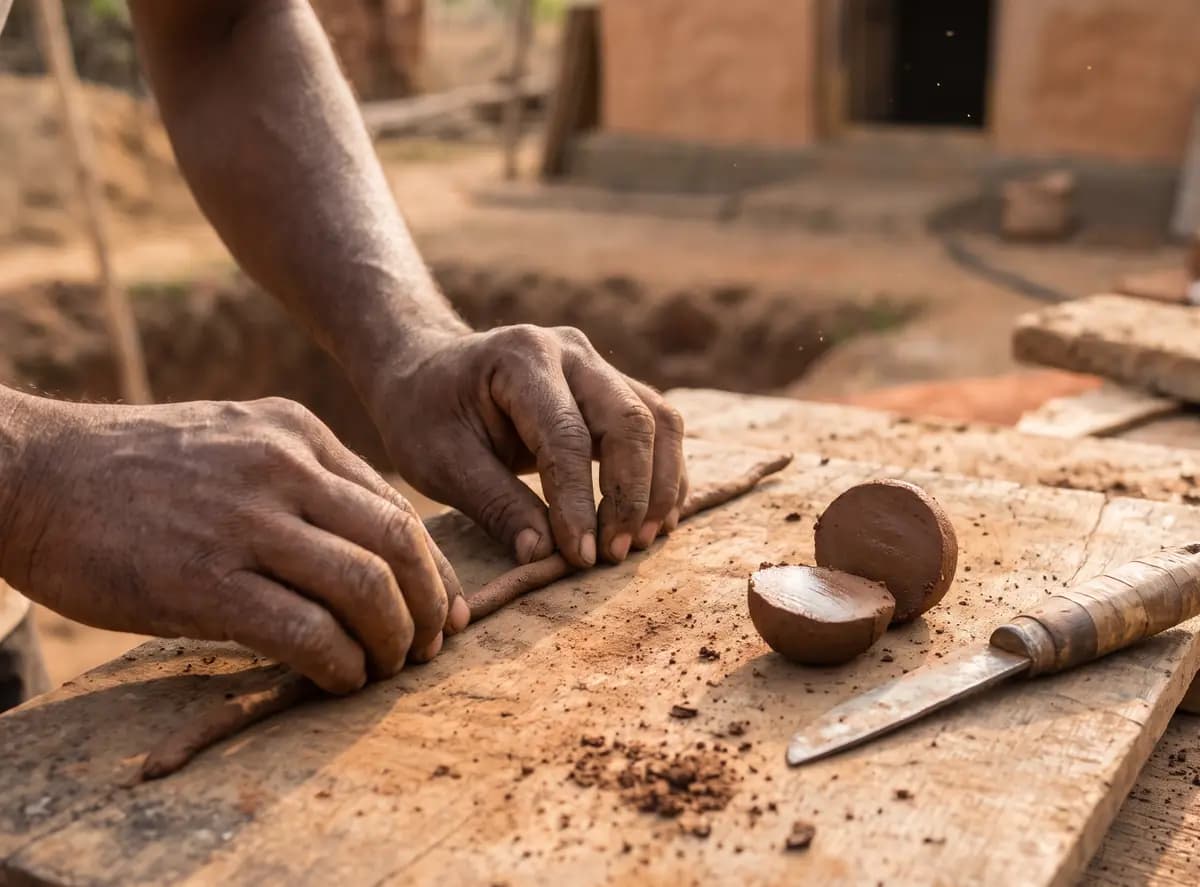
The thread and cut tests: a long thin thread and a shiny cut face mean plenty of clay. Illustration.
1. Smell
Smell a handful of freshly dug, damp soil.
A musty, mouldy smell means organic matter. Leave that soil for gardens.
2. Look and rub
Spread dry soil on your palm and rub it between your fingers.
Gritty grains you can see are sand. Fine, floury dust is silt. Hard lumps that won't rub away are clay.
3. Squeeze
Wet a little soil until damp and squeeze it hard in your fist.
Holds its shape after you open your hand: enough binder. Crumbles straight away: too sandy.
4. Roll a thread
Add water until it can be shaped, then roll it into a thread on a flat surface.
A long, thin thread that won't break: plenty of clay. Breaks while still thick: sandy or silty.
5. Cut
Cut a moist ball in two with a knife and look at the face.
Shiny and smooth: clay. Dull and rough: sand or silt. Soil stuck to the blade means sticky clay.
6. Thumb and water
Press a dent in a moist ball with your thumb, fill it with water and time it.
Water soaks in fast: sandy soil. It stands for a long time: clayey soil.
7. Wash
Rinse a handful under running water and rub until the water runs clear.
Lots of grains left in the palm: sandy soil. Almost nothing left: silt and clay.
Put the results together: a soil that is gritty, crumbles when squeezed and lets water straight through is sandy. One that rolls a long thread, cuts shiny and holds water is clayey. Name the soil by what dominates, such as sandy clay or clayey gravel, then look it up in the table further down.
The jar test: a rough split in 24 hours
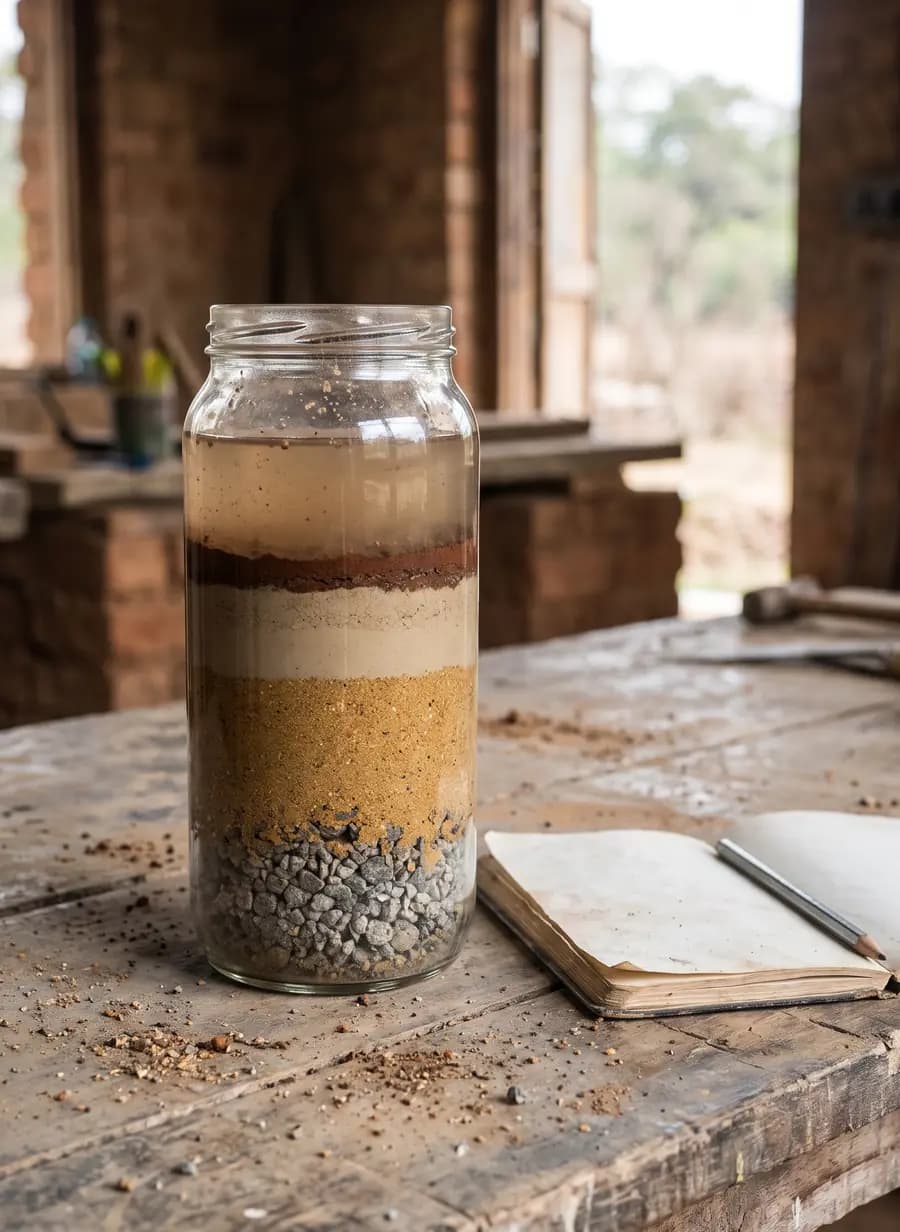
For a number to go with your hand tests, let water sort the grains for you. Heavy particles settle first and clay last, so the jar ends up in layers.
Cloudy waterClaySiltSandGravel
Fill a straight-sided glass jar one third with soil, broken up and free of stones.
Add water to two thirds and a pinch of salt, which helps the clay settle.
Close it, shake hard for two minutes and stand it on a level surface.
After an hour mark the layers. Look again after a day, once the water clears.
The height of each layer against the total gives a rough split. Clay and silt swell in water, so read it as a guide and confirm with trial blocks.
Illustration.
One more check, the shrinkage box: pack moist soil into a long, narrow box, let it dry for a few days and measure how far it pulls back from the ends. A lot of shrinkage means too much clay.
Your soil, and what to do with it
Few soils are perfect as dug, and most can be corrected. The usual fixes are screening out stones, crushing hard clay lumps, and adding coarse sand to a soil that is too fine or too sticky. Adding clay to a sandy soil sounds logical but rarely works in practice: dry clay is hard to crush and wet clay won't mix evenly.
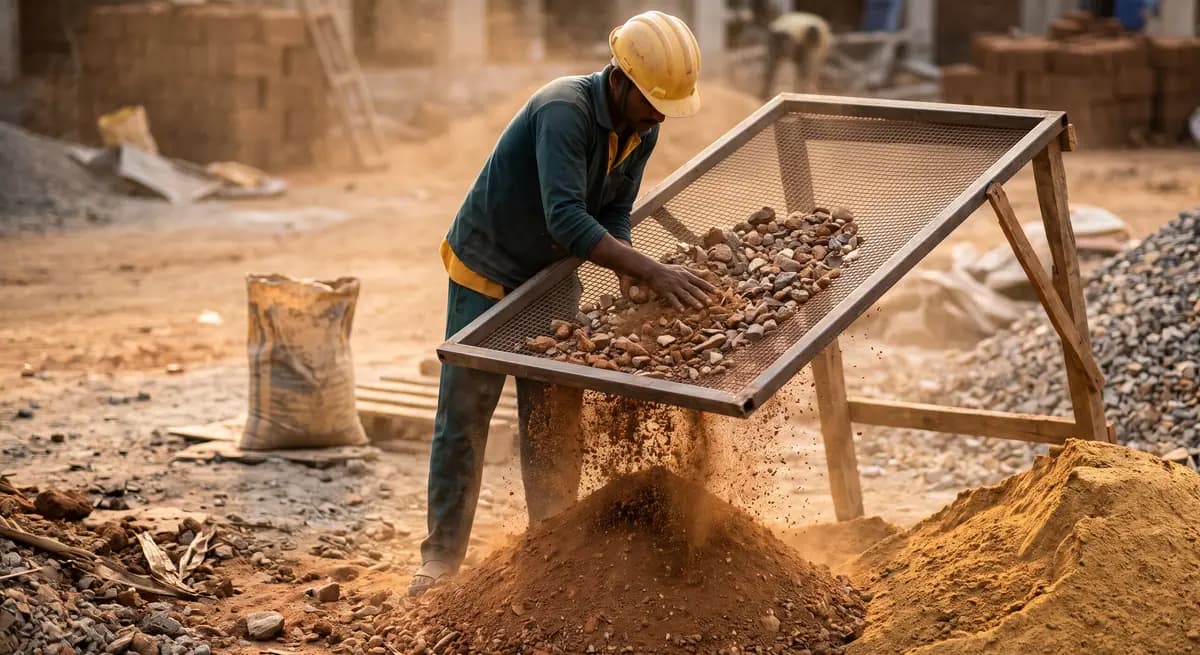
Screening takes out stones and lumps before the soil is mixed with stabiliser. Illustration.
Your soil
Verdict
What to do
Stabiliser
Gravelly or laterite-type clayey gravel
Good
Screen at 8–10 mm. A little sand if needed.
Cement ~5%
Sandy
Good
Screen loosely at 10–12 mm. Don't screen dry soil in the wind, or the clay blows away.
Cement 4–6%
Sandy silt
Good
Usually none.
Cement 5–7%
Silty
Correct it
Add 10–20% coarse sand for a skeleton.
Cement at least 6%
Clayey
Correct it
Crush, screen at 6–8 mm and add 20–40% coarse sand.
Cement 5–6%, or lime 6–7% if very plastic
Sandy clay or gravelly clay
Correct it
Add some sand.
Lime ~6%
Topsoil, black organic soil
Avoid
Don't use. Keep it for farming.
—
Silty or sandy gravel, silty sand
Avoid
Too little binder to hold a block together.
—
After any correction, test the soil again. Screening and added sand change its behaviour, and the tests on the corrected mix are the ones that count.
Cement or lime?
Stabiliser is what lets a pressed earth block stand up to rain. Choose it by the soil, then keep the dose as low as the trial blocks allow, because it is the biggest running cost after labour.
For sandy soils
Cement
min 3%usual 5%max 8%
Gains strength quickly.
Above 7–8% it costs more without paying back.
Blocks need 28 days of curing.
For clayey soils
Lime
min 2%usual 6%max 10%
Reacts with clay, so it suits plastic soils.
Hardens more slowly than cement.
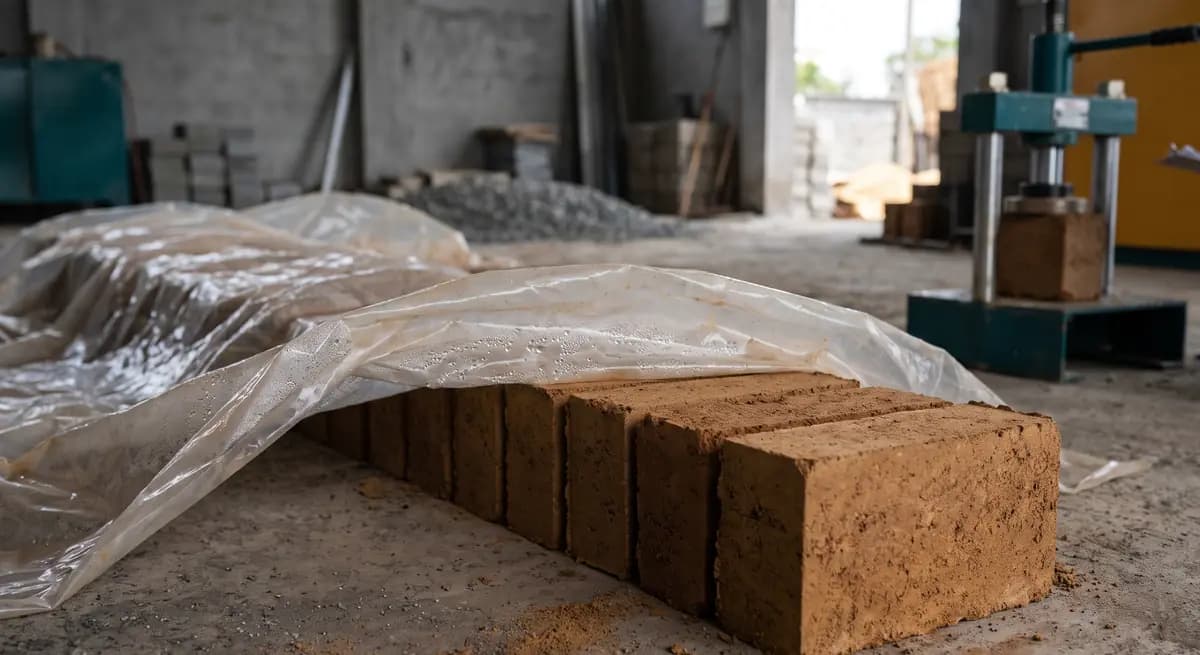
Keep blocks under plastic sheets for about 6 days.
A very plastic clay can take both: around 2% cement with 5% lime and 10–15% added sand. Cement blocks, including mixes with lime, need four weeks of curing kept damp before they go into a wall.
The doses above are published starting points for soil alone. Our customers' recipes, with soil and stone crush, usually run at around 10% cement. Treat every figure as a starting point and let trial blocks set yours.
Prove it with trial blocks
Field tests narrow the choice. Trial blocks settle it, and for a production plant a soil lab is worth paying for: grain size analysis, plasticity (Atterberg limits) and compressive strength of trial blocks to IS 1725.
Make trial blocks at two or three cement contents, for example 8%, 10% and 12%.
Keep the mix just moist enough to hold its shape when squeezed, without leaving your hand wet.
Cure them moist, in the shade, exactly as production blocks will be cured.
Have them crushed at a lab and choose the lowest cement content that meets the strength your buyers need.
Trial blocks cure under cover, then go for compressive strength and water absorption tests. Illustration.
Before you buy a CSEB machine
Topsoil stripped, and samples taken from several spots and depths
Hand tests and a jar test done on each sample
Soil corrected by screening, crushing or added sand, then tested again
Stabiliser chosen: cement for sandy soils, lime for clayey ones
Trial blocks cured and lab-tested before setting the final mix
Where the machine comes in
The soil also shapes the plant. A clean sandy soil may need only screening. A clayey soil needs crushing and careful batching so the sand and stabiliser go in the same proportion every time. Our CSEB machines range from compact presses to automatic plants with soil processing, batching and an elevated pan mixer. New to CSEB? Start with what CSEB is and how it is made, then tell us about your soil and the blocks you want to make.
The soil proportions, corrections and stabiliser doses here follow the guidance published by the Auroville Earth Institute, a pioneer of CSEB in India. They are starting points: every soil is different, and trial blocks from your own soil set the final mix.
2 cavity, 50 tonf compressed soil block making machine. Video from our YouTube channel.
Send us your soil test
Share your soil test or a description of your soil, and the blocks you want to make. We will advise on the mix and the right CSEB machine, and show you one working.